04.11.14
Smokey Eye Makeup
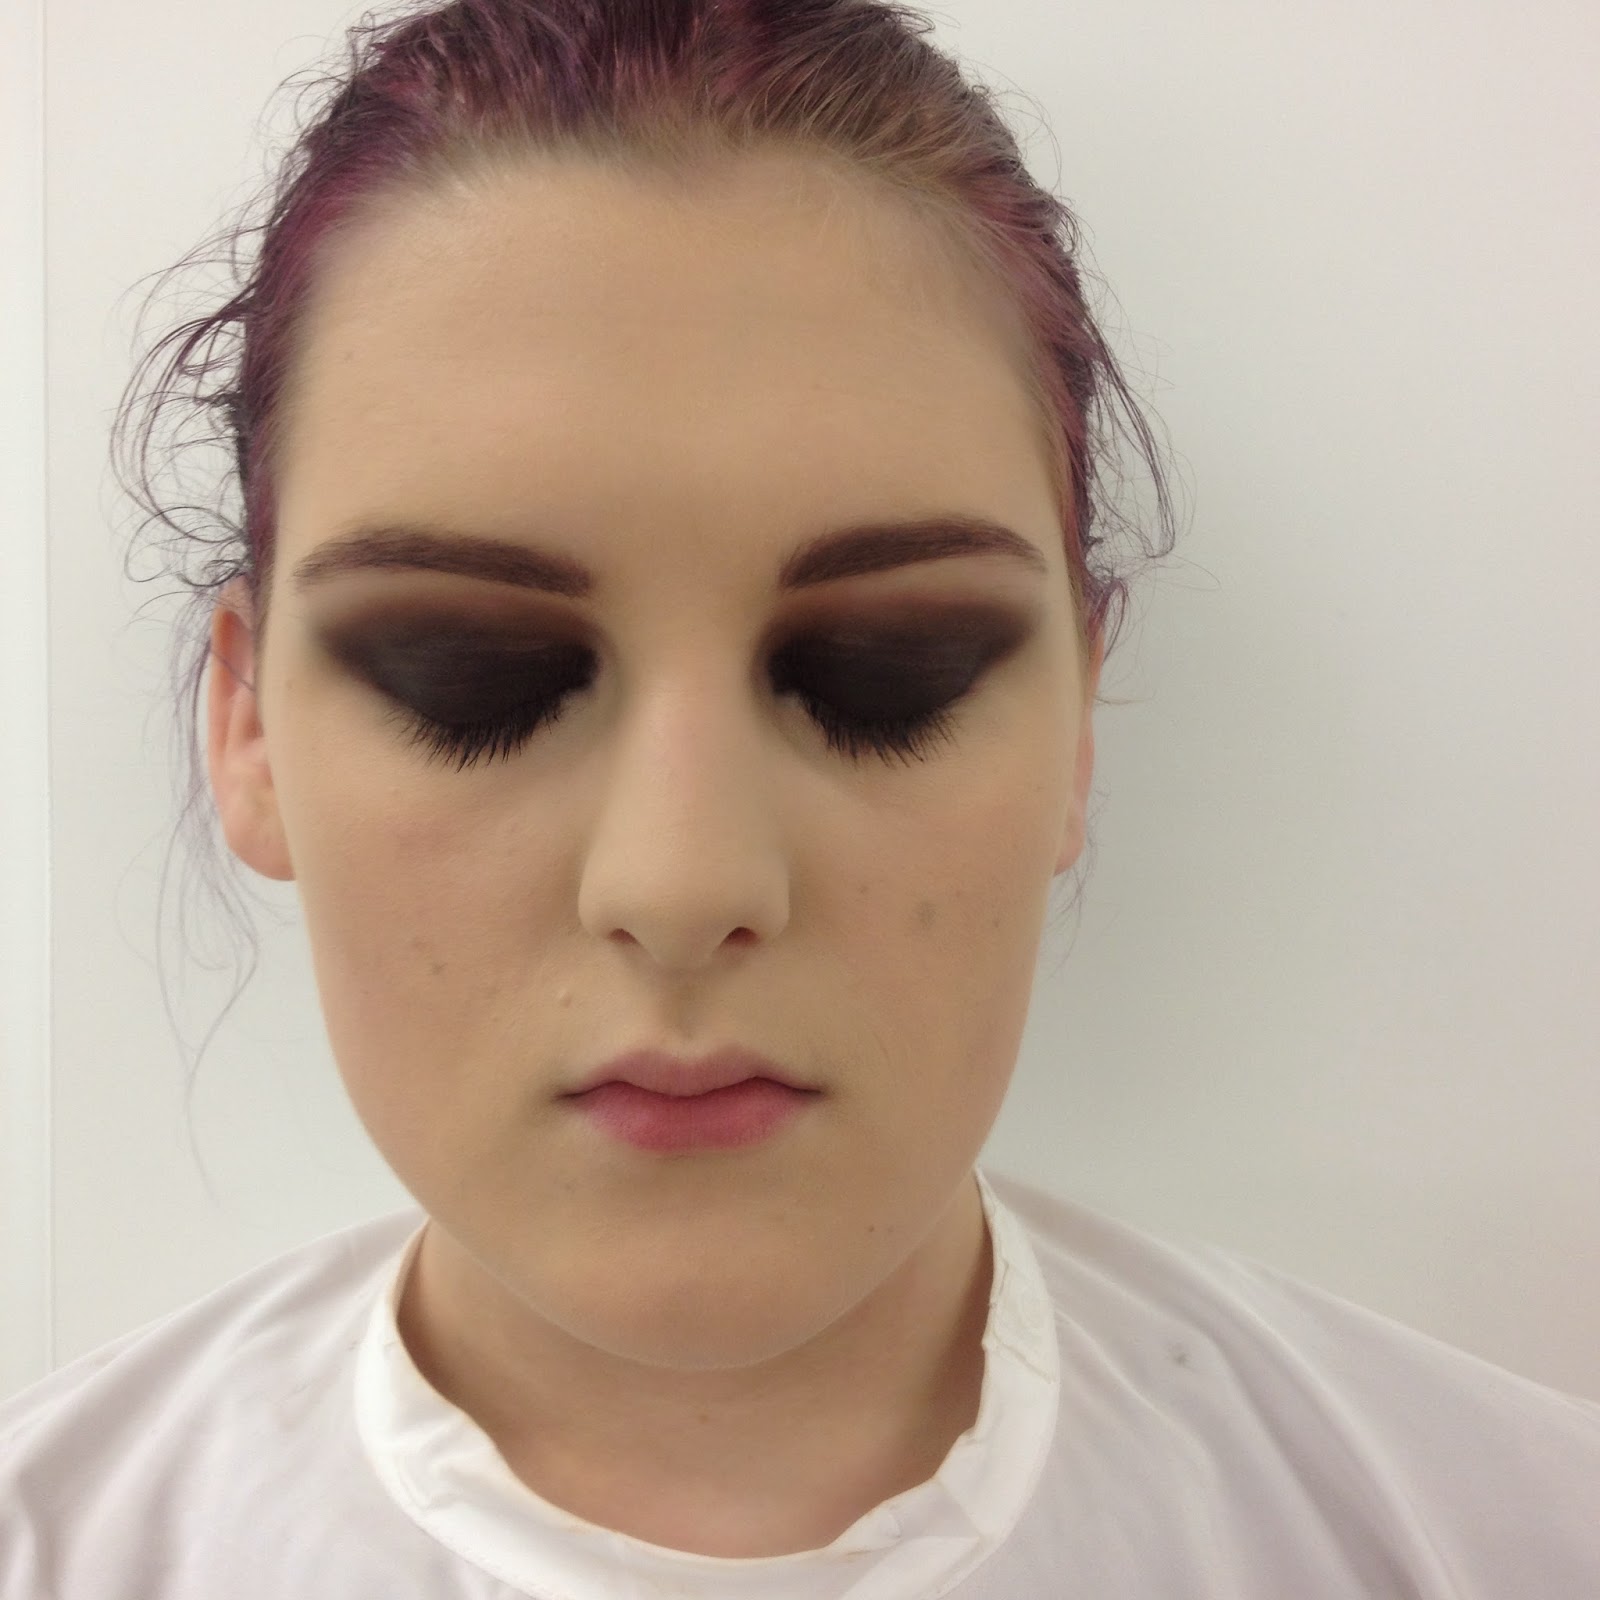
This lesson focused on creating a classic smokey
eye, using black gel liner, along with black eye shadow for maximum effect.
After watching Branka’s demo and taking notes, I
began to re-create this look on my model, Holly. After moisturising her skin
(she had already cleansed) I applied gel liner to the entire upper lid and
shaded it upwards, up to the crease. This would map out my areas for shading and
also add depth to the colour. Once happy with the application, which had to be
done relatively fast as the liner dries quickly, I began to apply and blend
black eyes shadow. The eye shadow is what really creates the smokey effect, so
blending evenly is important. I followed the natural lines of my models eye, so
the eye shadow wasn’t taken out too far above or outward. I think when creating
a black smokey eye, the shape should be kept more natural, as the darkness is
so intense. To balance out the intense black makeup, I applied soft brown tones
along the crease, to blend with the black shading. This softened the makeup and
made it more wearable. I highlighted the brown bone and then applied the gel
liner along the waterline. Applying dark liners to the waterline makes the eye
appear smaller and sultry in shape, whereas a lighter shade will open up the
eye and make it appear bigger.
A full coverage application works best with this
particular look, as is it more suited to evening and special occasion makeup. I
opted for Mac Studio Fix fluid foundation as a base, as it has a medium to full
coverage. I used shade NC15 to match
my models skin tone. I used Mac shade Mid-peach
to conceal under her eyes. This peach shade counteracts any blue tones under
her eyes, as it is opposite on the colour wheel then I applied a very light
dusting of powder with a fluffy brush because the foundation is quite matte. A
dewy base would complement the smokey eye, so I did not want to over powder and
add anymore of a matte effect.
I contoured her cheekbones and jaw line, using the
darkest shade 117 from the Morag Ross
Le Maquillage Palette and blended out any harsh lines using a contour brush and
my foundation brush that already had product on it. I then used Mac pigment in Vanilla to highlight above her
cheekbones and down the centre of her nose. This technique, along with using
brown tones with the smokey eye, adds definition and stops the makeup looking
flat.
Finishing touches to the smokey eye makeup- I
carefully applied black eye shadow using a small brush to line under her eyes
and join it up to the black shadow applied to the upper lid and then applied
mascara to the top and bottom lashes. Finally, I pencilled in her eye brows. I
opted for a slightly darker shade to fill her brows, as it would complement the
darkness of her eyes better.
I ran out of time before I could apply blusher and a
lip colour.
 |
| Branka's demo |
 |
| My smokey eye application on Holly |
 |
| My smokey eye application on Holly OPEN |
 |
| My smokey eye application on Holly CLOSED |
Problem solving
This lesson concentrated on creating and applying
techniques for a classic smokey eye. However, my model Holly did have misshapen
eyes. If she were a client, I would have used different application techniques
in an attempt to correct her eye shapes. I would have applied less shadow under
her right eye, as it is bigger and lower than the left, and slightly more
shadow under her left eye to make it appear bigger. I would have also not taken
the shading up as high on her right upper lid to make the eye area seem
smaller.
Overall, I really enjoyed creating this makeup look.
I had never actually created a black smokey eye and had always opted for brown
tones. I think my blending and shading techniques were applied well. Once I had
applied the gel liner over the lid, my confidence grew with blending the
different brown and black tones to create this sultry look. I am disappointed I
didn’t finish in time; although I am pleased I completed the eye makeup.
Products used
·
Mac gel liner- Blacktrack
·
Ben Nye Glam Shadow palette- shades Shell, Mink Stole, Coco Brown
·
Mac eyebrow pencil- Lingering
·
Mac Haute & Naughty mascara- Black
·
Mac Studio Fix fluid foundation- NC15
·
Mac Pro concealer palette- Mid-peach
·
Mac Prep+Prime looe powder- Translucent
·
Morag Ross Le Maquillage palette- 117
·
Mac pigment- Vanilla
No comments:
Post a Comment